FileBackup is a C# Windows Forms application that allows you to backup files and directories based on specified criteria. It provides a user interface to select source and destination directories, choose file extensions to include/exclude, set time criteria for file modification, and perform the backup operation.
Getting Started
To get started with FileBackup, follow these steps:
- Clone the repository or download the source code.
- Open the solution in Visual Studio.
- Build the project to restore NuGet packages and compile the application.
- Run the application.
Features
- Select source and destination directories.
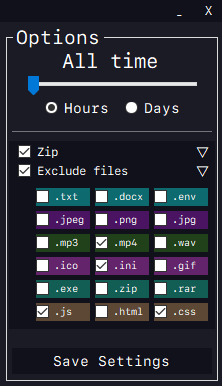
- Choose specific file extensions to include/exclude from the backup.
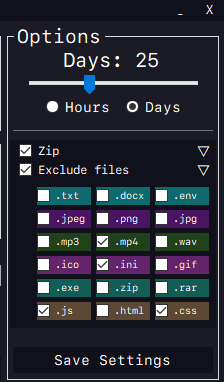
- Set time criteria for file modification to include only files modified within a certain time period.
- Option to compress the backup files using different compression levels.
- Save and load user settings for future use.
- Start/Stop the backup operation.
- Real-time progress updates and estimated time remaining.
Requirements
- .NET Framework 4.7.2 or later.
Usage
- Launch the FileBackup application.
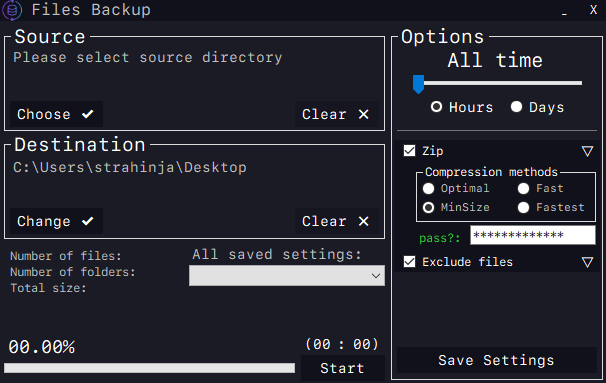
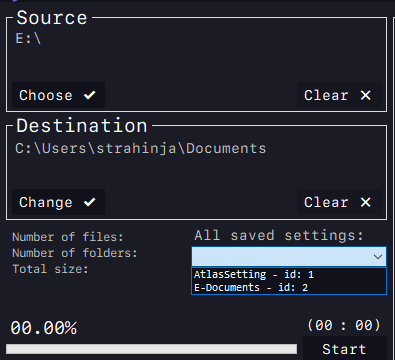
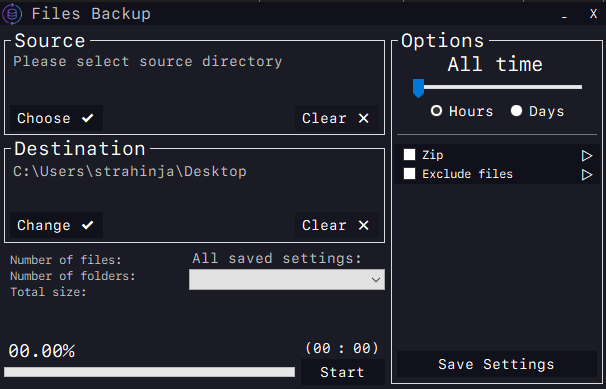
- Select the source directory by clicking the "Choose Source Directory" button.
- Select the destination directory by clicking the "Choose Destination Directory" button.
- Choose the file extensions to include/exclude from the backup by checking/unchecking the corresponding checkboxes.
- Set the time criteria for file modification using the trackbar. You can choose between hours and days.
- Optional: Check the "Compress Backup Files" checkbox to enable file compression. Choose the compression level using the radio buttons.
- Optional: Save the current settings by entering a name for the setting and clicking the "Save settings" button.
- Optional: Load previously saved settings from the dropdown menu.
- Click the "Start" button to begin the backup operation. Click the "Stop" button to stop the operation.
- Monitor the progress using the progress bar, labels, and estimated time remaining.
- Once the backup is complete, you can find the backup files in the specified destination directory.